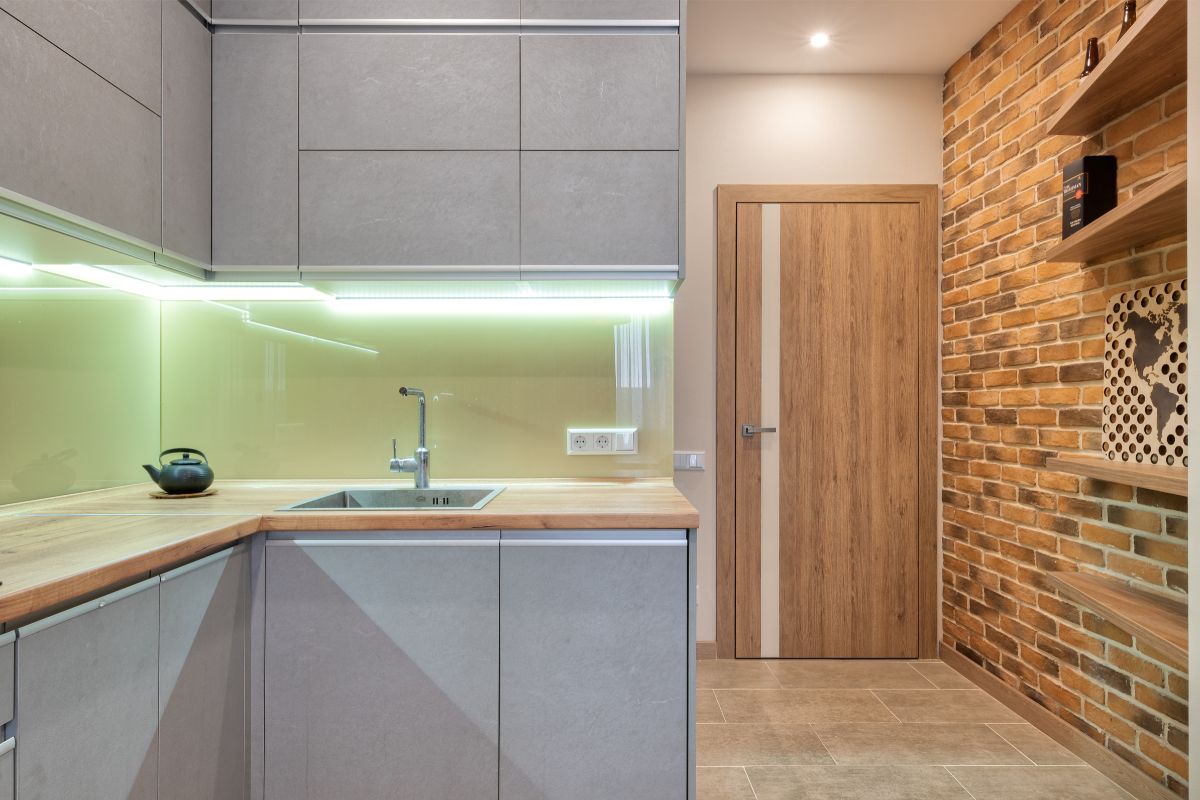
In this day and age, under cabinet lighting is an absolute must, but you’re not alone if you’ve been putting installation off for fear you won’t be able to figure out how to do it.

However, although some consider it a pro-grade job, on a scale of difficulty from 1 to 5, I’d say it’s a 1.5 or 2, so well within most people’s abilities.
The important thing is that you stick rigidly to instructions, as it’s when people go rogue that they run into trouble, so stick with me as I take you through this step-by-step guide, and all will be well! Ready to bring that kitchen of yours into the modern age? Fantastic, let’s get cracking!
What You’ll Need
Tools
-
A radio… kind of (you’ll see what I mean)
Materials
-
A light fixture
Installing Under Cabinet Lighting: A Step-By-Step Guide

Step 1: Safety First
As always, before you begin this project, you need to turn off the power source you’ll be using to hook up your new under cabinet lights.
As there are likely many different circuits in action around your kitchen, you need to plug a radio into an outlet beneath the cabinetry under which you wish to install your lighting.
Turn the radio on, then hit the breaker panel, flicking off switches until the radio turns off, signifying that the correct circuit has been terminated.
Step 2: Access Hole
Your next move is to make way for the cabling by cutting a hole (roughly 12”) in the back of the base cabinet near the power source. To do so, use your drill to make some starter holes, then use your drywall saw to complete the access hole.
There may already be wiring behind this spot so don’t go running the back panel through with your saw, bayonet-style — Keep your passes as shallow as possible.
Step 3: Junction Box
Take your junction box and screw it to the back of the cabinet just above the access hole. It’s best to use small screws as, again, there may be some wires back there. Add a flex connector to your junction box (screw facing out) for every run of flex wire you have in mind.
Step 4: Holes For Horizontal Runs
Next on the agenda is to clear a path for your horizontal flex cables. Use your 1-⅛” spade bit in the sides of the cabinets so there’s a route for the cables to run all the way through your cabinetry.
Step 5: Feeding Flex Cables
With the path cleared, you’re free to thread your flex cables through to the necessary locations, i.e. the switches and lights. Secure the flex cables in place with metal straps at appropriate intervals.
Step 6: Trimming Your Flex Cables
Your flex cables should now be in the desired locations, meaning you can trim down the excess.
Measure just how much length you need to channel your cables behind the scenes of your cabinetry, then whip up a rudimentary jig and use your hacksaw to cut them.
Step 7: Power Source To Junction Box Run
Run your plastic-sheathed cable through the access hole and a small section of flex cable. Thread at least 12-¼” of cable through the flex cable into the junction box.
Staple the cable to a surface near the power source but no more than 8” away from the junction box, and once secured, strip 12” of sheathing from the cable in the junction box, revealing each individual wire — There should be a ¼” sheathed section left protruding into the junction box.
Step 8: Threading Cables
Now’s the time to use your fish tape to thread cables through each of your flex connectors.
It’s best to be generous with the amount of cable you thread through, as, remember, there needs to be enough to reach up to the various lights and switches in your under cabinet lighting network.
Step 9: Get The Wall Cabinet Involved
Just beneath the wall cabinet, drill a hole (½”), thread the fish tape through it, then drill another hole, this time through the back wall of the lower cabinet.
Take a wire clothes hanger, push it through this second hole and use it to catch the fish tape. Pull the fish tape down through the second hole so you can link it to your cable and pull it up through both holes.
Step 10: Linking Your Wires To The Fixture
First up, thread your wires through the enclosure of the fixture, then secure them with a cable clamp. Next, link your stripped wires to the appropriate connectors within the fixture as per the manufacturer’s instructions.
Step 11: Fit The Fixture
Here’s a little practical DIY interlude! Install the fixture to the underside of your cabinetry with the included mounting apparatus (usually screw mounts).
Top Tip — Don’t install the fixture too close to the wall. Keeping it closer to the outer edge of the cabinet will give you the most illumination.
Step 12: Secure Cable
Where the cable comes out of the wall, just before it reaches the fixture, use a wire staple to secure it in place.
Step 13: Cutting The Switch Location
Use a marker to draw out the cutting template for the switch on the wall. Drill a number of hotels around the template to cut it out. Use a glass bit if you’re drilling through tile.
Step 14: Mount Your Switch Box
Funnel your cable into the switch box, secure it with the integrated cable clamp, then mount the box with some screws.
Step 15: Wiring The Switch
Strip about ½” of sheathing from the cable in your switch box then wire the switch as per the manufacturer’s instructions.
Step 16: Hardwiring
All that’s left to do is to connect your new system of wires to the wires of your power source. Link each color of new wire to the corresponding color of old wire.
Final Thoughts
And that’s how it’s done! Once you finish step 16, it’s time to flick the power back on and see if your handy work has paid off. With any luck, the bottom half of your kitchen will now be bathed in practical and beautiful light!


