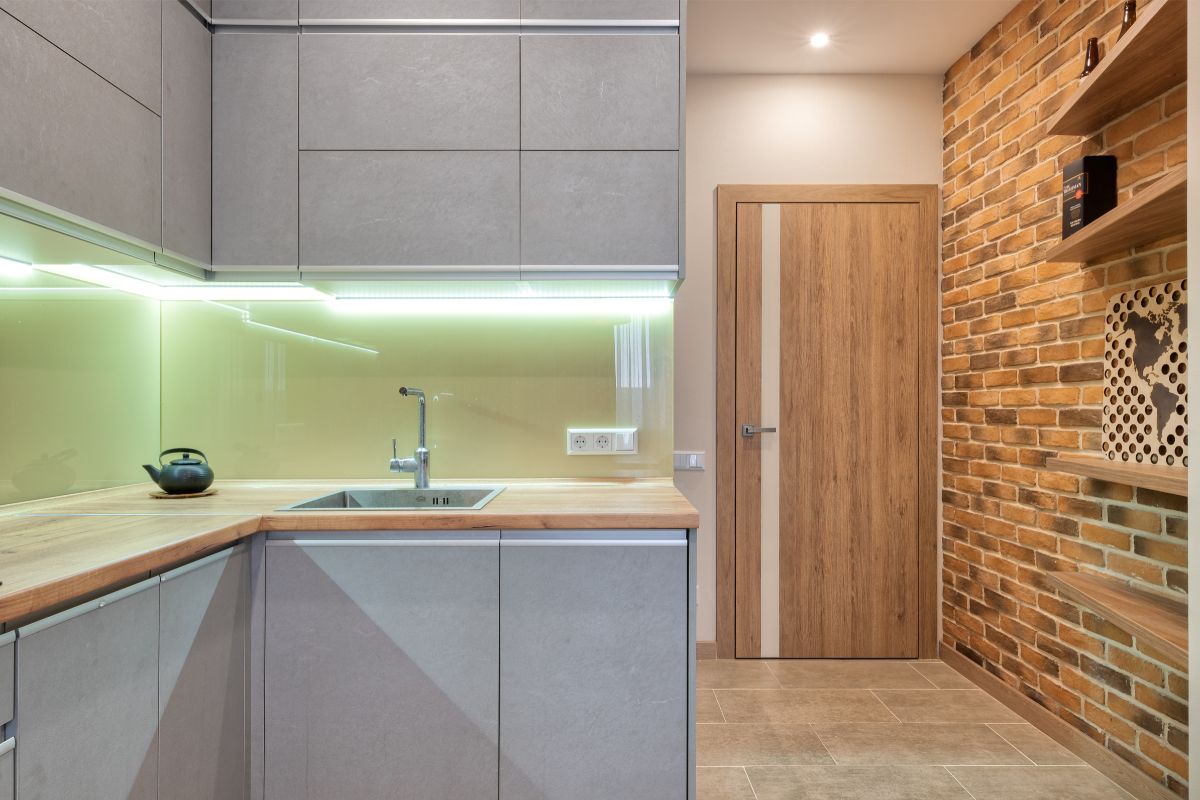
If you’re going for a sleek modern look in a room, then there’s really no substitute for some recessed lighting.

Hugging the installation surface, they can help you make the most of a small space or emphasize the raw geometry of a structure, adding a contemporary twist to your home. And perhaps best of all, they’re pretty easy to install DIY-style!
Granted, if you don’t already have a nearby power source to work with, it’s a slightly trickier, more drawn-out process, but still within the realms of DIY reality. So, without further ado, let’s take at the installation process of recessed lighting.
A Note On Circuits
If you have an existing circuit near the installation area that you might be able to work with, take a closer look and see if it’ll be possible to continue a string of new lights. If you can find any blank faceplates around, there’ll likely be some spare circuits inside.
In the absence of a pre-existing power source, you’ll need to do a few things to get those new lights of yours working:
-
Run a cable from your service panel to the light switch.
-
Run the cable from the switch to the first recessed light in sequence
-
Link up the lights to make a circuit.
Whichever of these approaches you take, always remember to keep the amperage of your fixtures in mind, as most circuits run on 20 amps and can only support a maximum of 12 lights.
Safety Measures Before Installation
Right, we’re very nearly ready to get the ball rolling here, but as always, safety first. Make sure that the circuit breaker powering the electric cable you’re routing to your lights is turned off. You should only ever turn this on to test your lighting post-installation with a voltage tester.
If you need to head up into the attic and work above your ceiling drywall, be sure to wear a quality respirator and eye protectors, and remember to tread carefully or you may well fall through your ceiling.
Use the joists to move around and bring a sheet of plywood up with you to spread your weight evenly over a larger surface area when you sit down to work.
Here’s What You’ll Need
-
A hole saw set or failing that, a drywall jab saw
-
Your recessed lights
Installing Recessed Lighting: A Step-By-Step Guide

For clarity and brevity’s sake, I’ll be guiding you through a ceiling installation, but you’ll be able to apply what you learn here to a wall installation too.
Step 1: Finding Your Installation Zone
First on the agenda is to find the perfect spot to install your recessed light. Use your stud finder to assess the location of joists above your ceiling. Each of your lights needs to be at least 6 inches from any joists.
Step 2: Mark Your Drill/Cutting Guide
Most recessed lights will arrive with a paper template for marking out the cutting guide for the hole. Place it directly over your chosen spot and draw around it with a pencil.
Step3: Cut The Hole
Here comes the exciting part, but first, pop on your respirator and eye protectors. With the safety equipment donned, it’s time to pick up that hole saw, fit the appropriately-sized attachment, align it with your cutting guide, then pull the trigger!
The dust will rain down, and in seconds, you will have a perfect hole in your ceiling, which is exciting and terrifying in equal measure. Don’t worry, though, things are going swimmingly!
Side note — If you’re using a drywall jab saw, place the tip on the pencil line, then hit it on its end with something heavy as if it were a chisel. Once it’s through to the other side, carefully cut out your circle.
Step 4: Running The Wire
Now it’s time to rough-in the wire. In order to keep things neat up in the old attic, it’s worth prioritizing cable management right off the bat. Run the cable along the joists, securing it at intervals with cable clips.
When you run out of joist, run the wire as neatly as possible to the freshly cut hole and then, from the other side, reach up and pull the wire down through it.
Step 5: Wiring The Light
Equipped with your cable ripper, remove roughly 4” of sheathing from the ends of your wire, open the light’s junction box, and make the appropriate connections by matching the wire color with the light’s color indicators.
You may be connecting the black wire from your power cable to a black wire in the junction box, or, to make it easier for installers, some lights arrive with push-fit connectors, which will also be color marked. Secure the wire in place before closing the junction box.
Step 6: Installing Your Recessed Light
Push the light up into the hole and use whatever clip system arrived with it to attach it to the ceiling drywall.
Step 7: Installing The Trim
Most remodel designs will arrive with the trim already attached, so you may be fine to skip this step, but canned lights typically arrive with separate components. If your trim was not attached, follow the manufacturer’s instructions to connect it to your secured fixture.
Step 8: Fitting The Bulb
Now you’re ready to fit an appropriate lightbulb. Again, you may need to consult the manufacturer’s instructions to determine what sort of bulb is suitable. Never fit a bulb that exceeds the spec of the fixture, as it’s a serious fire hazard.
Step 9: Wiring The Circuit
To wrap this project up, return to your attic and run the other end of your cable to the breaker or service panel. Find a suitable circuit breaker and attach your wire
This is most likely going to be a 15 amp breaker, but check the manufacturer’s suggestions before making any connections. Lastly, link the chosen breaker to the service panel, and voilà; job done!
Turn on the power to your breaker, push your light switch, and see if your hard work has paid off.
Final Thoughts
Installing recessed lights isn’t the most difficult DIY job in the world, but it can be quite daunting for those with little to no experience with electronics and wiring.
If at any point you feel as though you’re putting yourself at risk or that you’re physically incapable of completing the job, it’s time to call in a professional electrician. It’ll cost you a fair bit extra, but you can’t put a price on your health and safety!


