As the focal point of the busiest room in your home, your kitchen island is something of a culinary Swiss army knife, a tool you can use in a multitude of scenarios to get jobs done and keep you sane. It can serve as a table for eating breakfast and lunch at, a casual gathering zone, a spot to unwind with a glass of wine or cup of coffee, a sizable extra work surface when things get really wacky, or an extra surface for decorative embellishments and centerpieces.

You might say that the kitchen island is the kitchen equivalent of an operating table in a surgical theater, and as is the case with this crucial medical apparatus, the lighting you use to facilitate the kitchen island’s many uses is of vital importance.So, to make sure the heart of your kitchen shines like it should, I’ve composed this comprehensive guide to kitchen island lighting.
Step 1: Measure Your Island
Generally speaking, kitchen island lighting shouldn’t exceed the boundaries of the island itself, so before you do anything else, it’s important to take some accurate measurements of your kitchen island.You’ll need the width, length, and distance between the surface of your kitchen island and the ceiling. I’d recommend using a retractable tape measure for large islands, especially if you’re measuring by yourself. Otherwise, it can be quite a difficult task.
Step 2: Visualization
Even at this early stage, you can start building up a picture of where your lights will be installed, how they will be spaced, and how far down they will hang. As a rule of thumb, interior designers suggest that 6–12 inches be left between the ends of your kitchen island and the center of your first pendants in sequence.
So, grab that tape measure of yours again, measure within this range inward of the ends of your island, then leave some things on the surface to mark the spot.Now tie a few lengths of string or ribbon around some balloons (not helium), and tape them directly above the markers you placed on the surface of your island. It’s best to place them centrally, as most kitchen islands require a single row of lights.This provides you with a rough picture of the space each end light will occupy and how much you’ll have to work with between them.
Feel free to experiment with central balloons to estimate how many lights you think you’ll need for practical and aesthetic purposes.I’d also recommend playing around with the length of the string or ribbon so you can get a feel for how low you’d like your future lights to fall.
If you find a drop distance that you really like, make a note of it so you can reference it when shopping around for your lights.
Step 3: Mapping Out Your Layout

Okay, so you’ve done some basic planning using balloons as a visual aid, fantastic! Now you need to formulate some more concrete ideas, and you can use the following golden rules to help you do so…
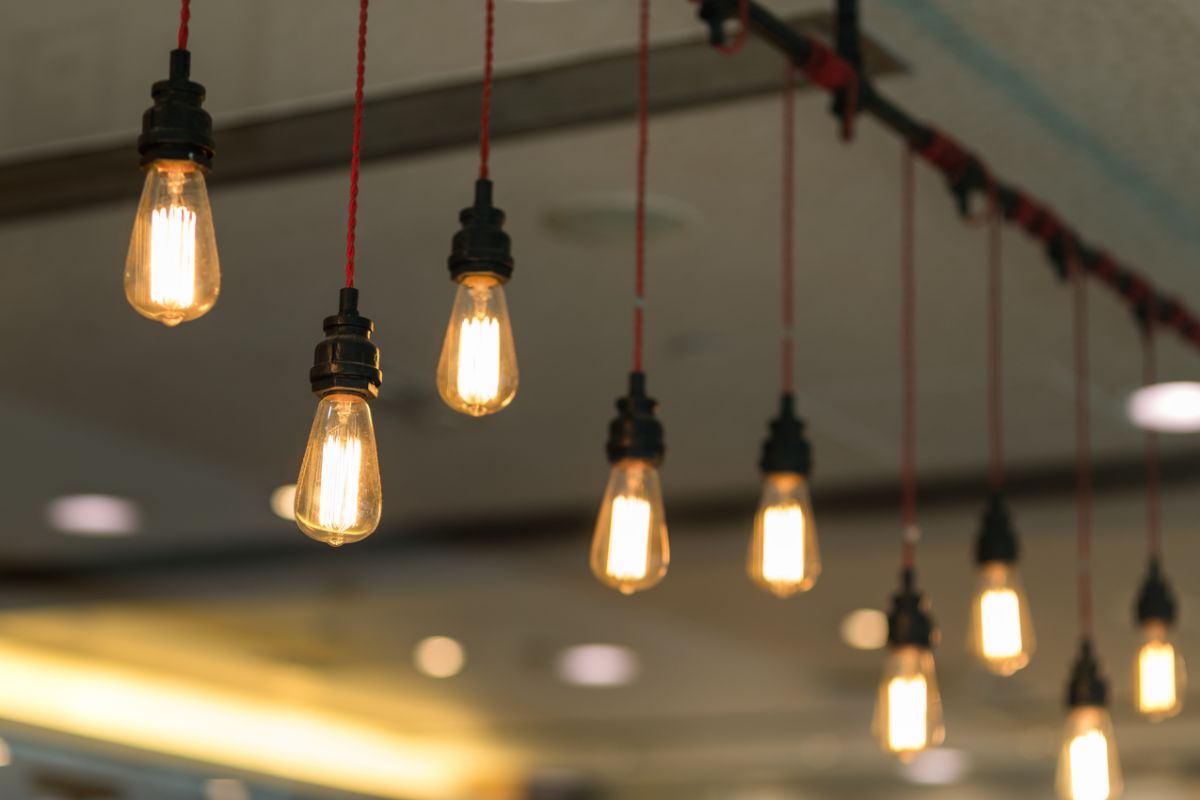
The most elegant lighting plans for kitchen islands utilize either one large statement chandelier or a sequence of pendant lights, usually 2 or 3; however, if you’ve got an island that rivals actual islands in size, an individual chandelier or single row of lights may not cut it.This rule changes in accordance with the spread of light, but typically, you’ll aim to fit pendant lights between 26 and 30” apart from one another.
This makes for a nice, even distribution of light, though, as inefficient as it is, a slight beam overlap is not the end of the world, so don’t be scared to reduce to a minimum separation of 24”.
The more lights you’re using to illuminate your kitchen island, the simpler their design should be. This is why you can choose something decadent if you’re only using a single, central light. Multiplying this extravagance will only look garish, overwhelming the space.
Step 4: Lumens
Once you have a solid fixture count for your kitchen island, you can assess your lumens requirements.
For the uninitiated, lumens are a measure of brightness, and, again, there are some golden rules to use as a guideline when figuring out just how bright your bulbs need to be.Most professional lighting and interior design experts recommend between 35 and 50 lumens per square foot of your island.
If you’ve got a lot of supplementary lighting in the room from, say, wall sconces, then you can choose bulbs closer to the lower end of this range, but for larger or darker rooms, shooting for something closer to 50 is preferable.So, let’s say that your kitchen island measures 20 square feet. That means you’d need between 700 and 1000 watts in total spread across all your lights.
Being that, generally speaking, a standard 60-watt bulb emits roughly 800 lumens, this is all you’d need if you were going with a single overhead.For multiple pendants, you’ll need to dial down the wattage of each bulb significantly to avoid “overlighting” your kitchen island.
Step 5: Color Temperature
This is an easy one! Color temperature dictates the mood and application of your lighting. Measured in kelvins, the lower the color temperature of a light, the warmer it will appear (think candlelight) and the higher the color temperature, the cooler it will appear (think computer displays).Warmer temperatures are best for creating an atmosphere, while cooler temperatures are best for illuminating task areas. 4500K white light is the best multi-functional light as it sits between red and blue extremes.
Step 6: Choosing Your Lights
There are a number of variables to consider when selecting your lights. You should look for something that is both visually appealing as a discrete unit and fits nicely into your established kitchen aesthetic.
All the while, you’ll need to keep your island-to-ceiling measurements in mind so you don’t choose something with too short or too long a stem.The shape of the light and the materials used should be your two primary concerns where aesthetics come into play.
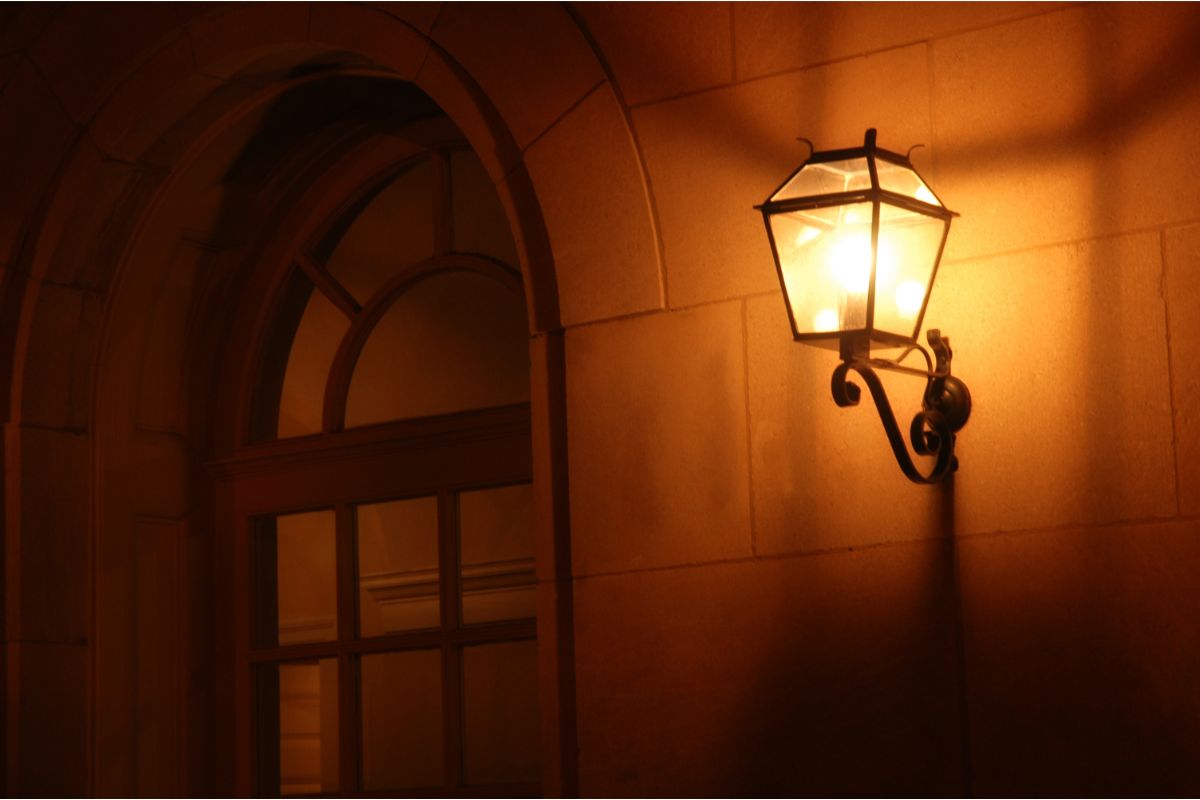
You’ll want to match any metalwork with the fixtures of your cabinetry, or, at the very least, choose something different that compliments your fixtures.Black metal tends to give off a low-key bistro vibe but can be classed up significantly by well-designed surroundings. Silver is a much more modern affair, but be warned, if the light in question has too much frosted glass, the combination of silver and white can look a little tacky.Brass makes a bold and elegant statement, but as a rather eye-grabbing metal, it’s best when paired with many other bits of brass brightwork about the kitchen. Painted white metal offers a very crisp, clean look that you can embellish with more adventurous shade choices.Navy is a smart choice for kitchens that nod to the nautical.Brighter colors can work, but typically only if the general design of the kitchen is quite eclectic and eccentric.Side note — For larger, open-plan kitchens that run straight into other rooms, you’ll want your kitchen island lights to complement the fixtures in the adjoined room, as there should be some cohesion that ties them together visually.
Step 7: Choosing Your Shades

Shades aren’t just a stylistic addition; they also alter the behavior of light, thus, they’re yet another crucial element in planning the perfect lighting for your kitchen island.
For the most part, shades fall into one of three categories, so let’s take a closer look at each one and what it brings to the table island.
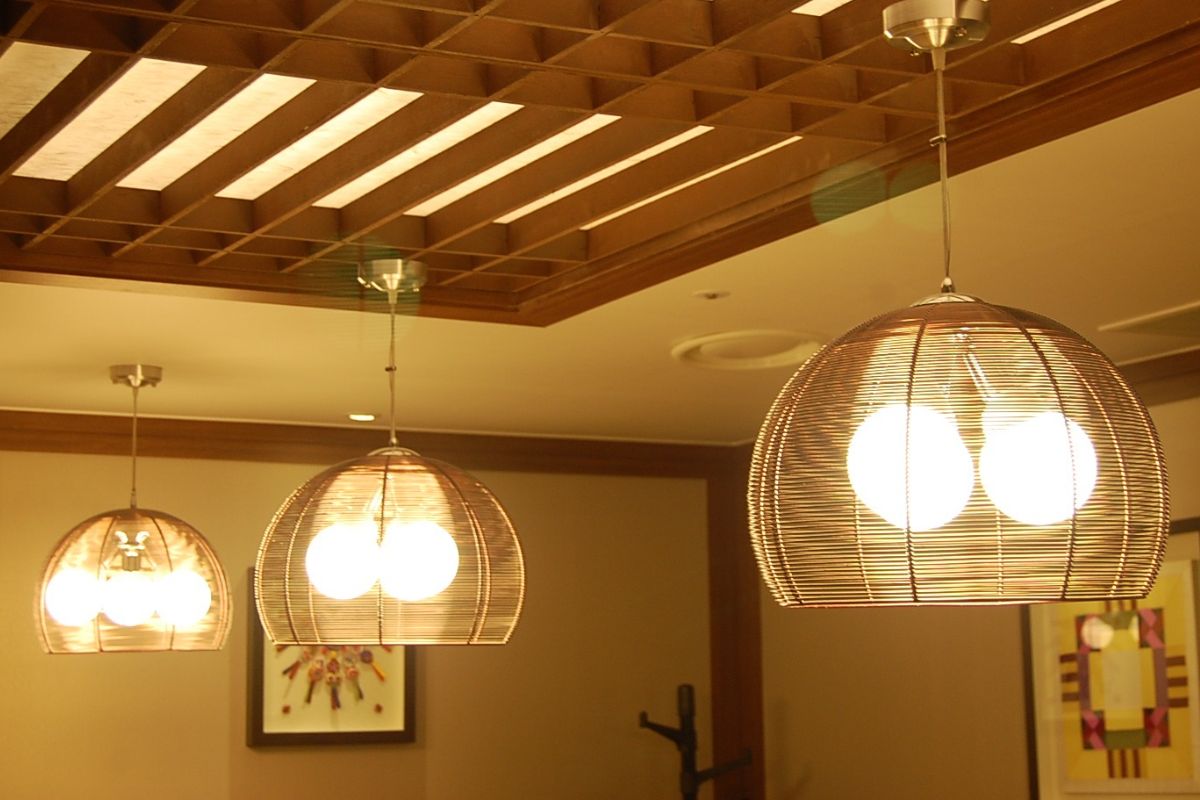
Metal Shades
Metal shades are visually stunning, but they offer more than mere beauty. The reflectivity of metal reinforces the light emitted, directing otherwise wayward wavelengths back down towards your kitchen island.As such, they’re a good way to strike a balance between softer ambient light and sharper task light, so if you often use your kitchen island as an extra work area for preparing your meals or perhaps even for reading, metal is the right choice for you.
Glass Shades
Being that glass is transparent (or to a certain degree depending on the finish), glass shades produce a wider spread of soft light perfect for brightening up the room when evening rolls around or setting a calming mood for family meals.Of course, if you want to reduce the passage of light through glass, you can opt for frosted shades or opal-glass shades.
Linen Shades
Linen is the best diffuser of light, so if you’re after a very mild, soft light at your kitchen island, they’re the way to go.
They also add a refined, elegant look to your kitchen. With their understated appeal, they can often be more arresting than more commonly used metal or glass shades.Do bear in mind, however, that linen isn’t out of the question if you’re after a task-oriented light; you just have to offset diffusion with more lumens.
Final Thoughts
As everyone’s kitchens and kitchen islands are different, I can’t tell you exactly what to do with your island lighting plan, but I hope that the topics of discussion today have at least opened your eyes to certain possibilities and impossibilities, and have gotten the creative juices flowing.Use what you’ve learned here as a foundation to generate ideas before taking them to the next level by adding your own personal creative flair.
With all the essentials covered, you’re sure to curate a wonderful lighting profile for your kitchen island.